


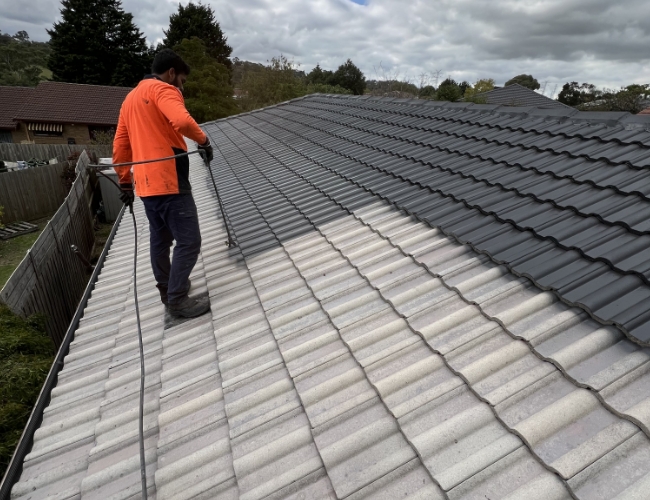
Quick answer: A roof restoration follows six main stages: inspect, pressure clean, repair, rebed and repoint the ridge caps, prime, then apply two colour coats. Most Melbourne homes take two to four working days, depending on roof size, the amount of repair work and the weather.
Knowing what should happen on your roof makes it easier to compare quotes and to spot shortcuts. This guide walks through each stage of a tile roof restoration in order, with realistic timelines, and explains how the process differs for metal roofs.
The roof restoration process at a glance
- Inspection and itemised quote
- Site setup and safety
- High-pressure clean
- Tile and roof repairs
- Rebedding the ridge caps
- Flexible repointing
- Primer or sealer coat
- Two colour coats
- Clean-up and final inspection
Typical timeline
| Stage | Typical time |
|---|---|
| Inspection and quote | 30 to 60 minutes, before the job is booked |
| Setup, pressure clean and repairs | Day 1 |
| Rebedding and repointing | Day 1 to 2, plus curing time |
| Primer or sealer coat | Day 2 to 3 |
| Two colour coats | Day 3 to 4 |
| Clean-up and final check | Final day |
Rain, cold or very hot weather can pause the job. Mortar and coatings need dry conditions to cure.
Step 1: Inspection and itemised quote
The roofer checks the tiles, ridge capping, valleys, flashings, gutters and, where possible, the roof space. The aim is to confirm that the roof is suitable for restoration and to list every repair it needs.
At Eminent Roofing & Restoration, the inspection is free and done in person. You receive an itemised quote, and the people who quote your roof are the people who do the work.
Step 2: Site setup and safety
The crew sets up safe roof access and edge protection, protects plants, paths and cars from overspray, and disconnects water tank inlets so dirty wash water does not enter the tank.
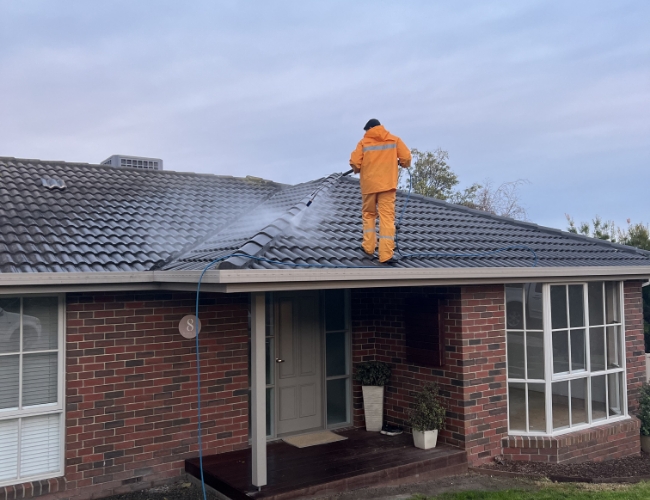
Step 3: High-pressure clean
The whole roof is cleaned with a high-pressure washer. This removes moss, lichen, dirt and loose old coating.
This step decides how well everything else lasts. New coatings bond to clean tile, not to dirt or moss. Gutters are flushed afterwards to clear the debris.
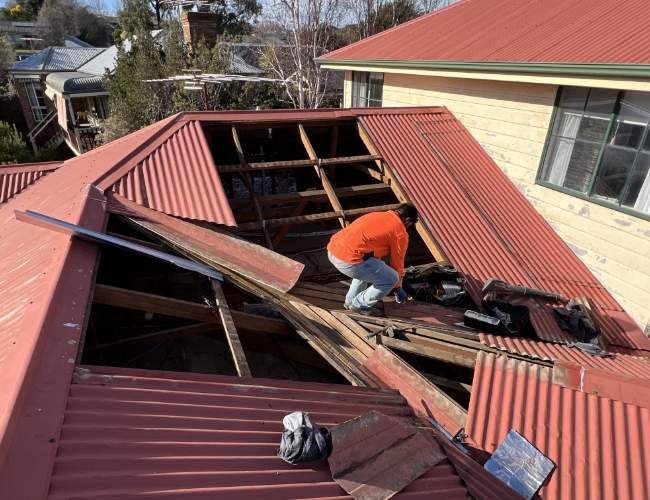
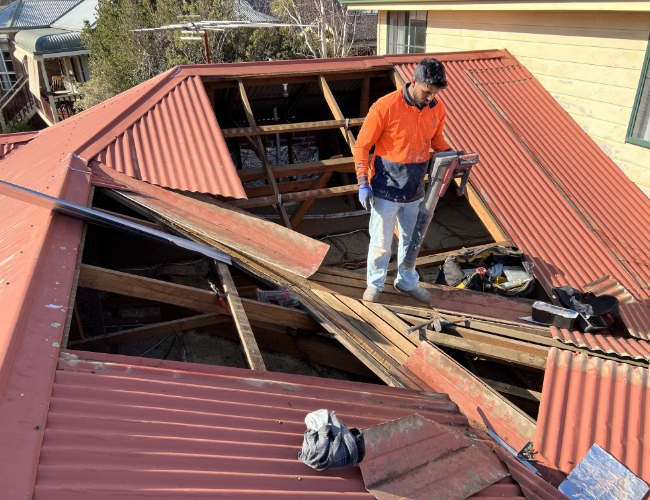
Step 4: Tile and roof repairs
With the roof clean, damage is easy to see. Repairs at this stage include:
- Replacing cracked and broken tiles
- Repairing or replacing rusted valley irons
- Fixing or replacing flashings and storm seals
- Gable and barge capping repairs
- Replacing rotted battens where needed
- Clearing or drilling weep holes so trapped water can drain
- Fitting tile clips where tiles need extra hold
Step 5: Rebedding the ridge caps
Where the mortar bed under the ridge caps has cracked or crumbled, the caps are lifted. The old mortar is removed, a new bed is laid and the caps are set back straight and level.
If the bedding is still solid, this step is skipped for those sections.
Step 6: Flexible repointing
All ridge caps are then pointed with a flexible pointing compound. It seals the edges, bonds the caps to the tiles and moves with the roof, so it does not crack the way rigid cement does.
The pointing is left to cure before coating starts. Our guide to roof rebedding and repointing explains this stage in detail.
Step 7: Primer or sealer coat
A primer or sealer is applied to the whole roof. On porous concrete tiles, it seals the surface and gives the colour coats something to bond to. Skipping it is the most common shortcut in cheap restorations. On terracotta we use a terracotta primer. Metal roofs skip this step, because the metal roof paint we use is self-priming.
Step 8: Two colour coats
Two coats of roof membrane are applied in your chosen colour, usually by airless spray. Each coat must dry before the next goes on.
Eminent Roofing & Restoration is a Dulux Acratex Registered Roof Applicator, and you choose between two coating brands, Dulux or Industrial Roof Coatings, so you can weigh colour range, finish and warranty before you decide. On a tile roof the system is three coats: one sealer or primer coat and two colour coats.
Step 9: Clean-up and final inspection
The crew removes masking and protection, clears the gutters, reconnects tank inlets, and cleans up the site. The finished roof is inspected, and you receive your warranty details.
Our restorations carry a 10-year workmanship warranty in writing, and if you choose Dulux, the coating carries a product warranty of up to 15 years.
How the process differs for metal roofs
Metal and Colorbond roofs have no tiles or mortar, so steps 4 to 6 change:
- Rusted or loose screws are replaced.
- Surface rust is treated.
- Laps, flashings and ridge capping are re-sealed.
- Sheets that are rusted through are replaced.
The roof is then finished with a self-priming metal roof paint, so there is no separate primer coat.
What about terracotta tiles?
Terracotta roofs follow the same steps, with a terracotta primer before the colour coats. See our comparison of concrete and terracotta tile roof restoration.
How to prepare your home
- Move cars away from the house, and ask neighbours to do the same on spray days.
- Bring in washing, outdoor cushions and toys.
- Close windows and doors during cleaning and spraying.
- Keep pets and children inside while the crew is working.
- Tell the crew about tank connections, skylights and solar panels.
Frequently asked questions
How long does a roof restoration take? Most Melbourne homes take two to four working days. Larger roofs, heavy repair work and wet weather add time.
What are the steps in a roof restoration? Inspection, pressure cleaning, repairs, rebedding and repointing of ridge caps, a primer or sealer coat, two colour coats, and a final clean-up and inspection.
How many coats of paint does a roof restoration need? On a tile roof, three: one primer or sealer coat and two colour coats. Metal roofs get a self-priming paint with no separate primer coat.
Can a roof be restored in winter? Yes, in dry weather. Coatings take longer to cure in cold and damp conditions, so winter jobs can take a little longer.
Do I need to be home during the restoration? No. The crew needs access to the outside of the house, water and power. Most roofers will send photos of progress if you ask.
Get a free roof inspection
Ready to see what your roof needs? Eminent Roofing & Restoration will inspect your roof for free and explain each step of your restoration in an itemised quote. There’s no deposit: you pay 50% at the halfway point and 50% on completion, and every full restoration comes with a free gutter clean.
Get a free quote → or call 0451 200 159.
Related: Roof restoration service · What is roof rebedding and repointing?

Leave a Reply
You must be logged in to post a comment.